Astro Boilerplate with TypeScript and Tailwind CSS
🚀 Astro Boilerplate is starter code for your blog or portfolio based on Astro with Tailwind CSS 3.0. ⚡️ Made with Astro, TypeScript, ESLint, Prettier, Tailwind CSS.
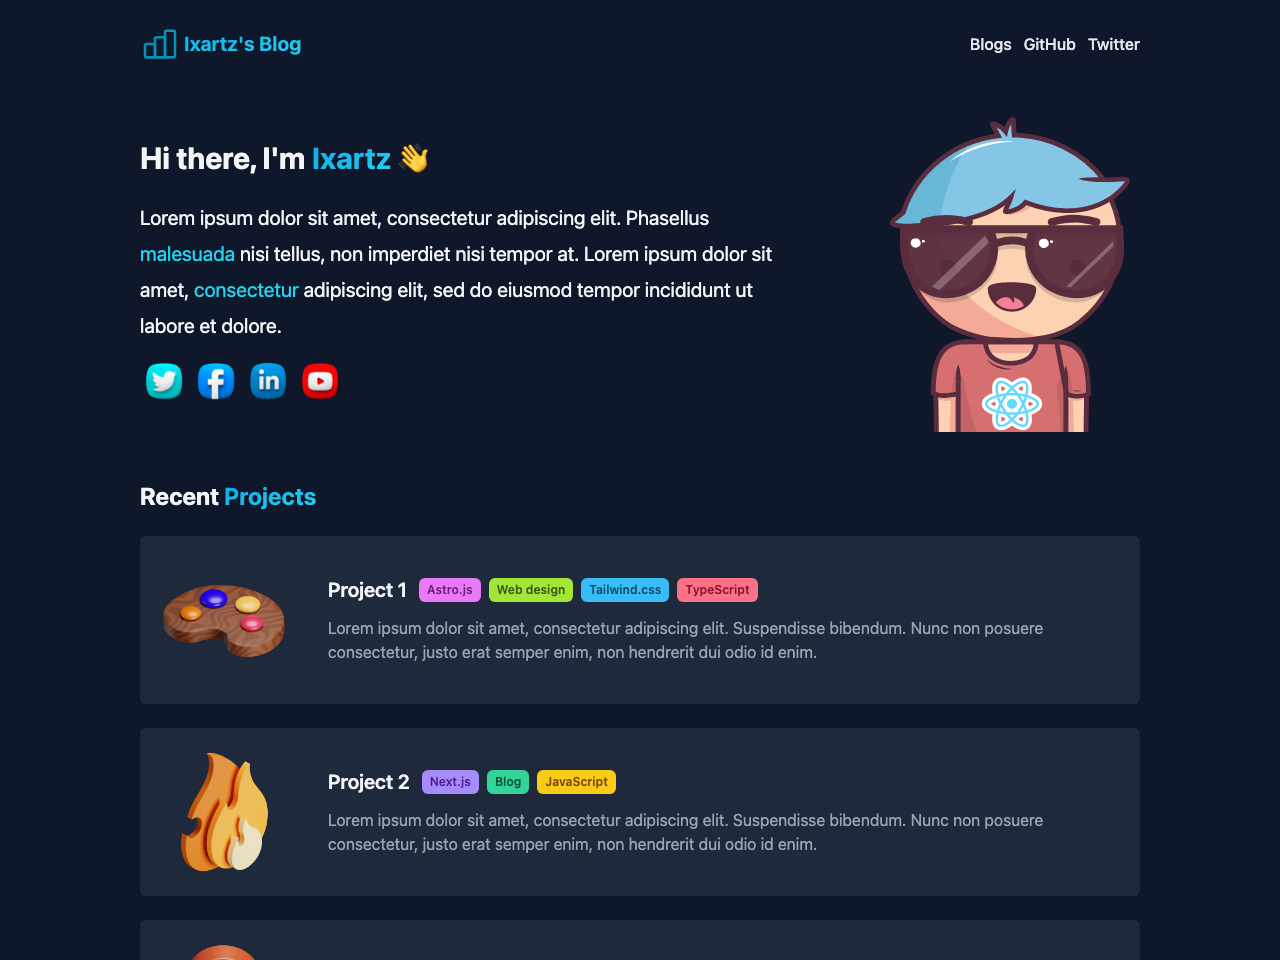
Clone this project and use it to create your own Astro blog. You can check the Astro templates demo.
Features
A complete Blog feature:
- 🎈 Syntax Highlighting
- 🤖 SEO friendly with sitemap.xml and robots.txt
- ⚙️ RSS feed
- 📖 Pagination
- 🌈 Include a dark blog theme
- ⬇️ Markdown
- 📦 Image lazy loading
- 💎 Responsive design
Developer experience first:
- 🔥 Astro
- 🎨 Tailwind CSS with aspect ratio and typography plugin
- 🎉 TypeScript
- ✏️ ESLint compatible with .astro files
- 🛠 Prettier compatible with .astro files
- 🦊 Husky
- 🚫 lint-staged
- 🚨 Commitlint
- 🔧 One-click deploy on Netlify (or, manual if you prefer)
ESLint with:
- Airbnb styled guide
- TypeScript compatible
- Astro compatible
- Automatically remove unused imports
- Import sorting
- Tailwind CSS plugin
Philosophy
- Minimal code
- SEO-friendly
- 🚀 Production-ready
Nextless.js SaaS Boilerplate
Build your SaaS product faster with React SaaS Boilerplate.
Requirements
- Node.js and npm
Optional
While Astro-boilerplate should work with the latest Node version, it has been tested with the versions in .nvmrc & the bottom of package.json. At current writing, that’s Node v16.15.1
Getting started
Run the following command on your local environment:
git clone --depth=1 https://github.com/ixartz/Astro-boilerplate
cd my-project-name
npm install
Then, you can run locally in development mode with live reload:
npm run dev
Open http://localhost:3000 with your favorite browser to see your project.
Deploy to production (manual)
You can create an optimized production build with:
npm run build
Now, your blog is ready to be deployed. All generated files are located at
dist folder, which you can deploy the folder to any hosting service you
prefer.
Deploy to Netlify
Clone this repository on own GitHub account and deploy to Netlify:

🧞 Commands
All commands are run from the root of the project, from a terminal:
| Command | Action |
|---|---|
npm install | Installs dependencies |
npm run dev | Starts local dev server at localhost:3000 |
npm run build | Build your production site to ./dist/ |
npm run preview | Preview your build locally, before deploying |
npm run clean | Remove ./dist folder |
npm run lint | Run ESLint and report styling error |
Contributions
Everyone is welcome to contribute to this project. Feel free to open an issue if you have question or found a bug.
Additional Checks
This README.md was linted with markdownlint
License
Licensed under the MIT License, Copyright © 2022